Introduction#
In the evolving world of cloud-native applications, containerization has revolutionized how we build, ship, and run software. But as the number of containers in a project grows, managing them becomes a challenge. That’s where Container Orchestration steps in - and Kubernetes is the undisputed leader in this space.
What is Container Orchestration?#
Container orchestration is a way to automate the deployment, scaling, and management of many containers.
Instead of starting and stopping each container manually, orchestration tools (like Kubernetes) handle it for you - making sure your apps run smoothly, restart if they crash, and scale when needed.
It’s like having a smart system that keeps all your containerized apps organized and running the way you want, across multiple machines.
What Is Kubernetes?#
Kubernetes (K8s) is an open-source platform that automates deploying, scaling, and managing containerized applications.
Originally built by Google and now maintained by the Cloud Native Computing Foundation (CNCF), it enables:
Automatic container scheduling
Load balancing
Self-healing and auto-scaling
Service discovery
Why Minikube and kubectl?#
To run Kubernetes on your local machine, you need two key tools:
1. kubectl - The Kubernetes Command-Line Tool#
kubectl is the primary way to interact with a Kubernetes cluster. You use it to:
Deploy applications
Inspect and manage cluster resources
View logs
Scale deployments
Expose services
Without kubectl, you cannot communicate with your cluster’s API server or manage any workloads.
Think of `kubectl` as your terminal interface to Kubernetes - just like git is to version control.
2. Minikube - Local Kubernetes Cluster#
Minikube is a lightweight tool that sets up a single-node Kubernetes cluster on your machine. It’s ideal for:
Learning Kubernetes basics
Local development
Testing configuration files before production
Prerequisites#
Make sure you have:
A system with virtualization enabled (Docker, VirtualBox, etc.)
Terminal access with sudo privileges
Internet connection
Step-by-Step Installation Guide (Ubuntu/Linux)#
Step 1: Install kubectl#
Downlaod the latest stable version:
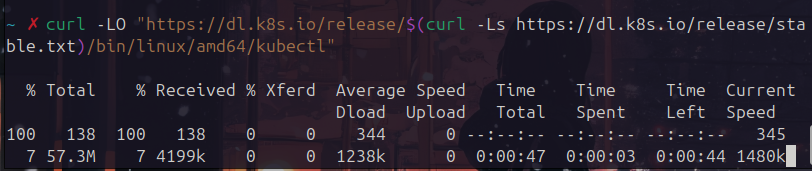
Then make the file executable with:

Move it to your system’s binary path by:

Check the version if it is installed successfully:
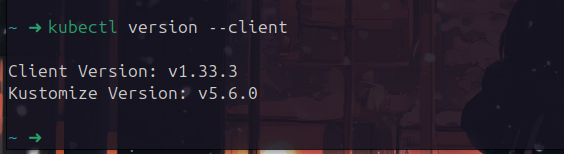
Step 2: Install minikube#
Downloa the minikube binary:

Install it to your system path:

Check version:

Step 3: Start the Kubernetes Cluster#
Recommended: Choose a driver (Docker is common):
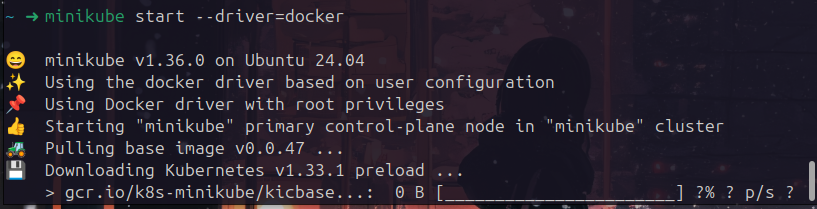
Optional: this command automatically selects the best available driver on your system (e.g., Docker, VirtualBox, KVM):
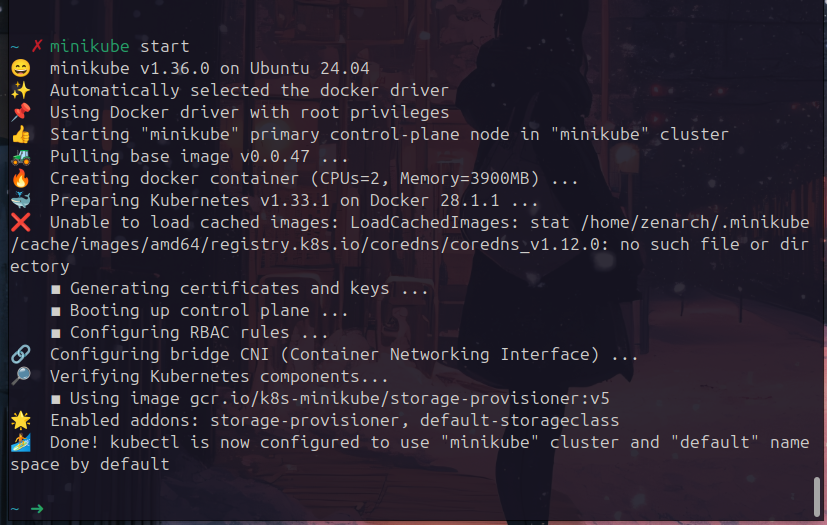
This downloads the required components and spins up a single-node cluster.
Step 4: Verify the Cluster is Running#
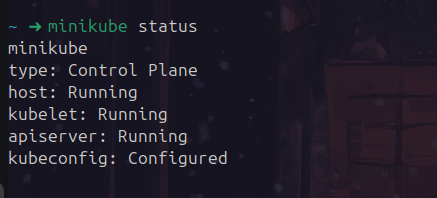
Step 5: Interact with Your Cluster#

You should see one node in a Ready state.
Step 6: Deploy a Sample App#
Do you have a deployment?#

If there’s no output, create one:#
Option 1:#
Through kubernetes CLI (kubectl):
kubectl create deployment hello-node --image=k8s.gcr.io/echoserver:1.4Option 2:#
Using the Kubernetes Dashboard (Optional UI):
Lanch the minikube dashboard:
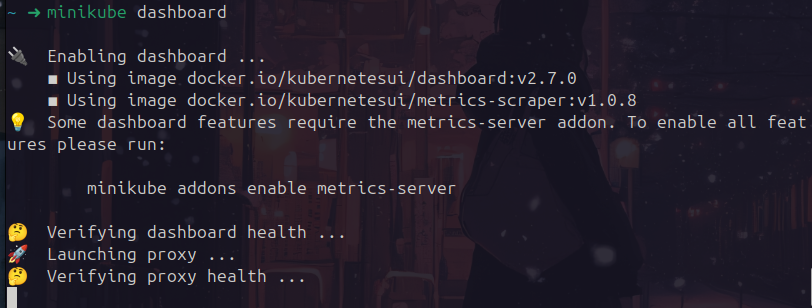
If the output says somethin like:
No resources found in kubernetes-dashboard namespace.It means the dashboard pods haven’t been created yet - so naturally, proxy health will hang since there’s nothing to proxy to.
How to Fix it: Manually Enable the Dashboard Addon#
Minikube is supposed to auto-enable it with minikube dashboard, but sometimes it silently fails. You can force it like this: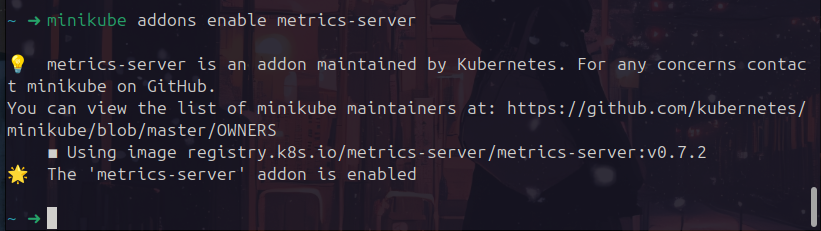
Then manually install the metrics scraper (recommended for full functionality):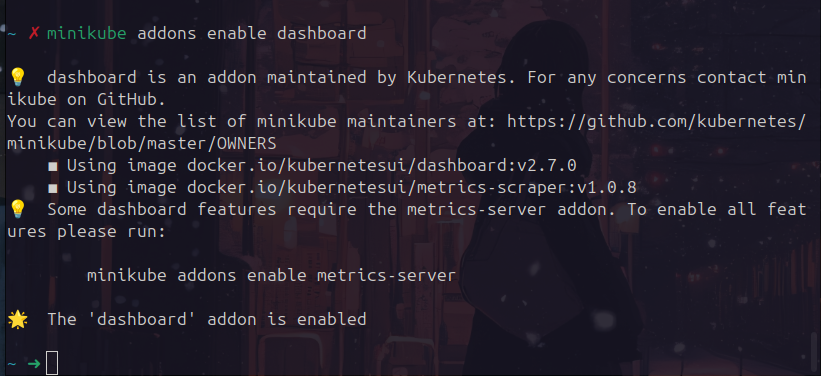
Wait and Watch:#
Then watch pods getting created: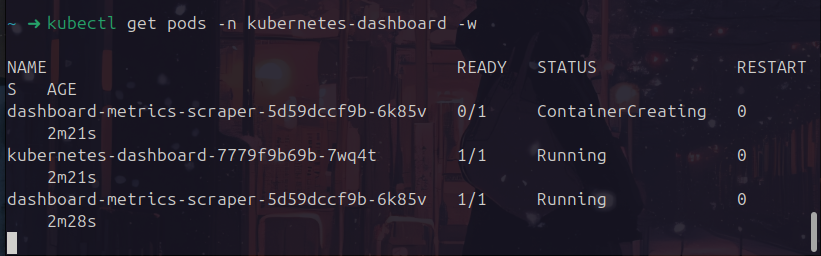
Once Running:#
Launch the dashboard again:
minikube dashboard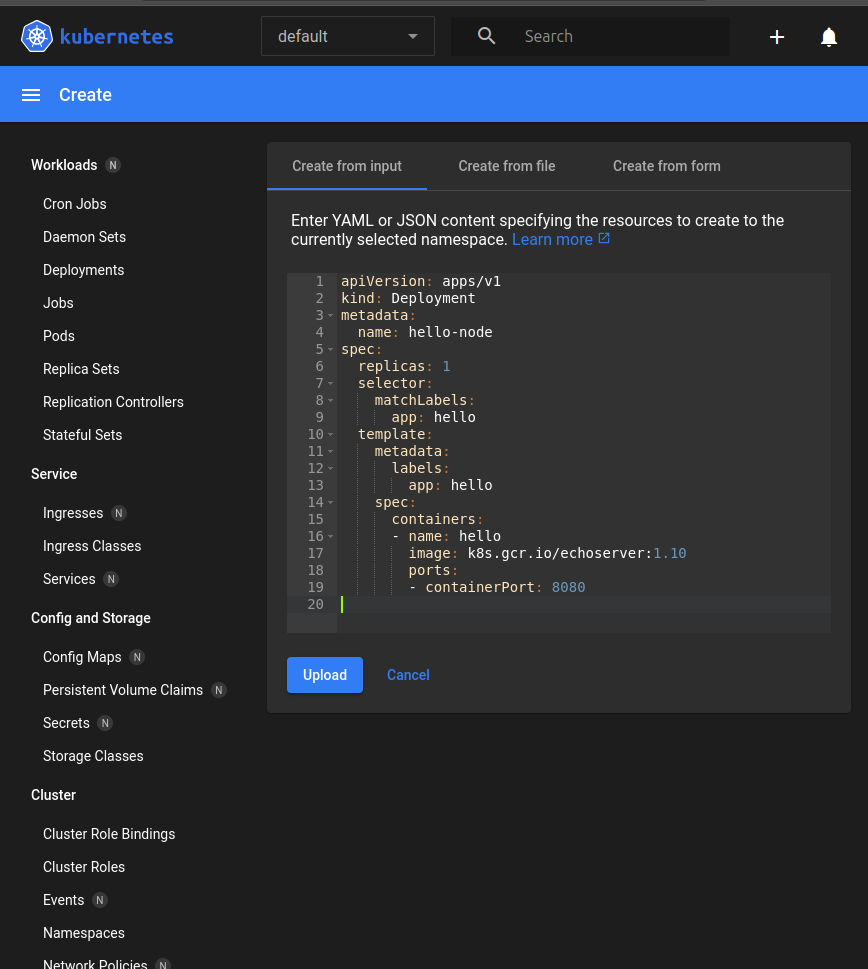
Boom! You’re in the Kubernetes Dashboard - mission accomplished! This means your entire Minikube cluster is working exactly as it should.
What You Can Do From Here#
Now that you’re inside the dashboard UI, here are a few things worth exploring:
1. Workloads#
Check out: Deployments, Pods, ReplicaSets
Try creating a sample deployment from the UI
2. Create a Deployment#
Use the “+” button (top-right) or go to:
+CREATE → Deploy a containerized app
I did this simple yaml:
apiVersion: apps/v1
kind: Deployment
metadata:
name: hello-node
spec:
replicas: 1
selector:
 matchLabels:
   app: hello
template:
 metadata:
   labels:
     app: hello
 spec:
   containers:
   - name: hello
     image: k8s.gcr.io/echoserver:1.10
     ports:
     - containerPort: 8080
3. Expose a Service#
You can expose your deployment right from the dashboard as a NodePort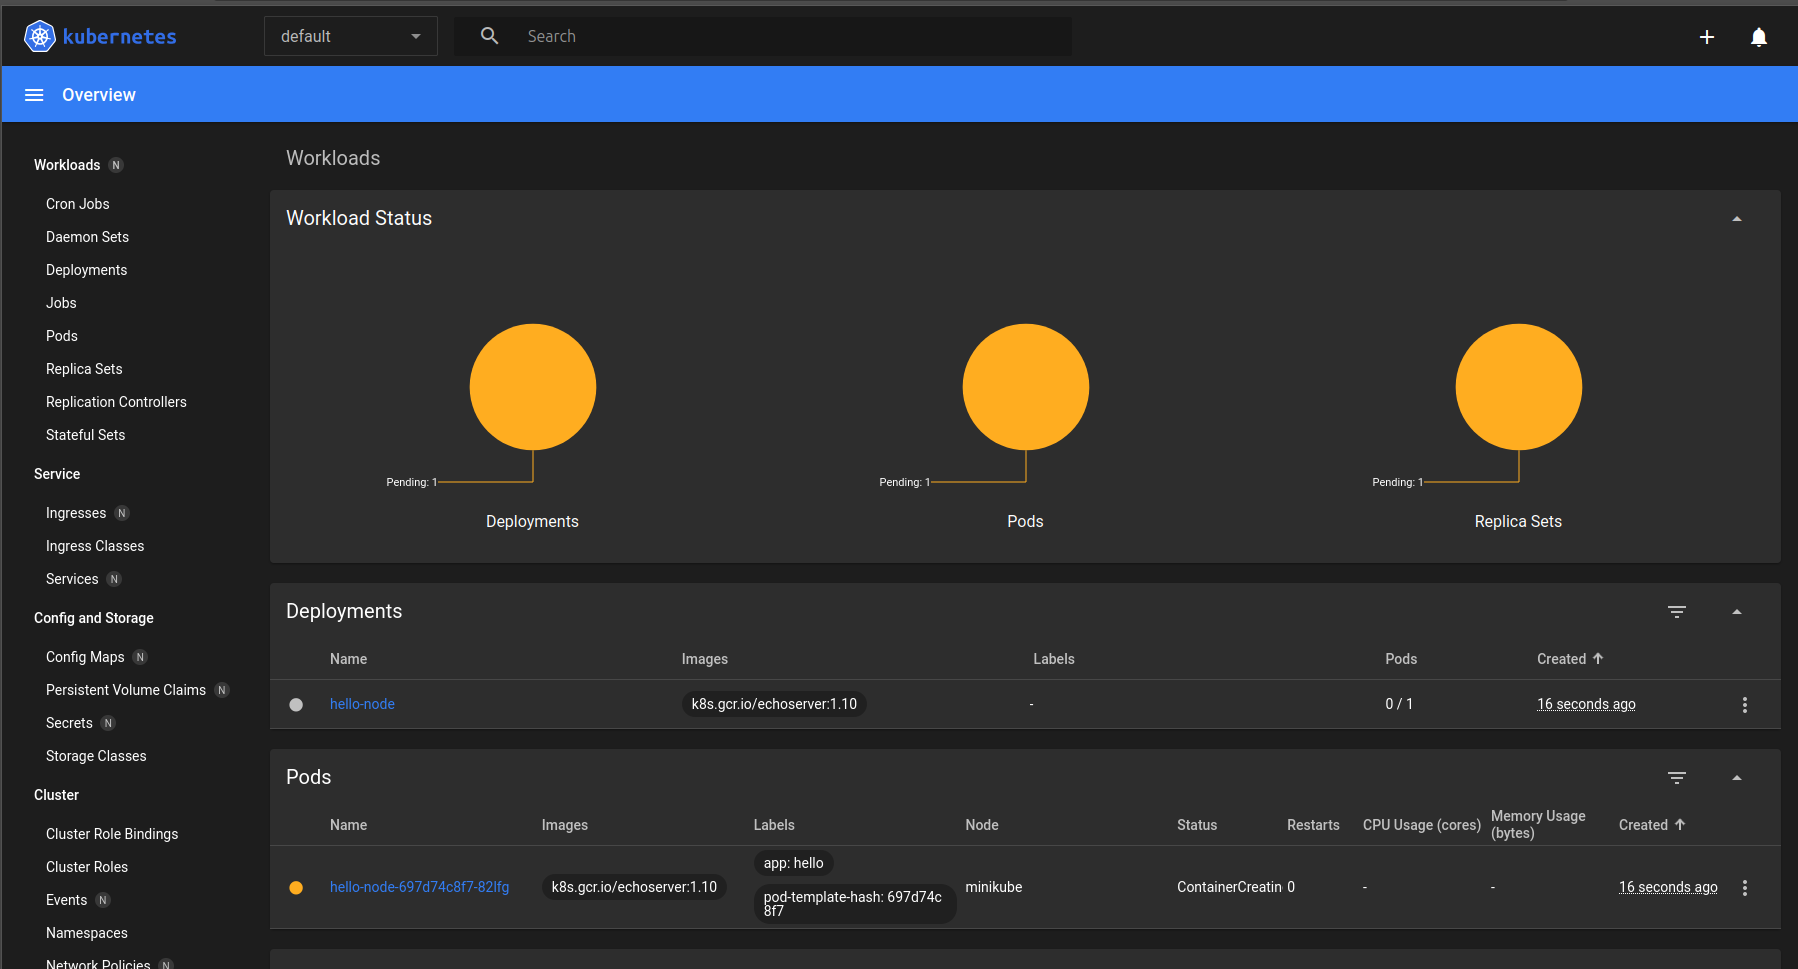
-then open it in a browser using:
This will:
Create a Service named hello-node
Expose port 8080 of your pod
Assign a random NodePort between 30000–32767
To access the app:#
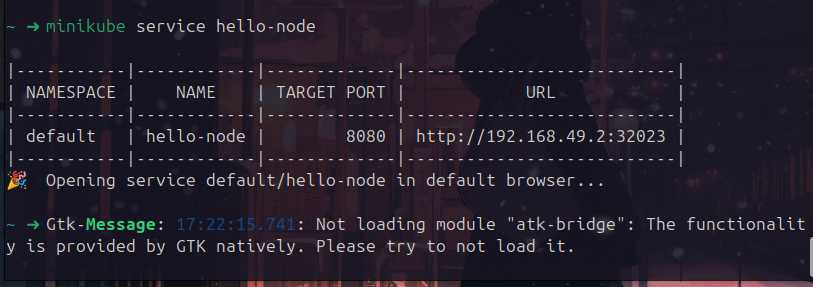
It should open in your browser!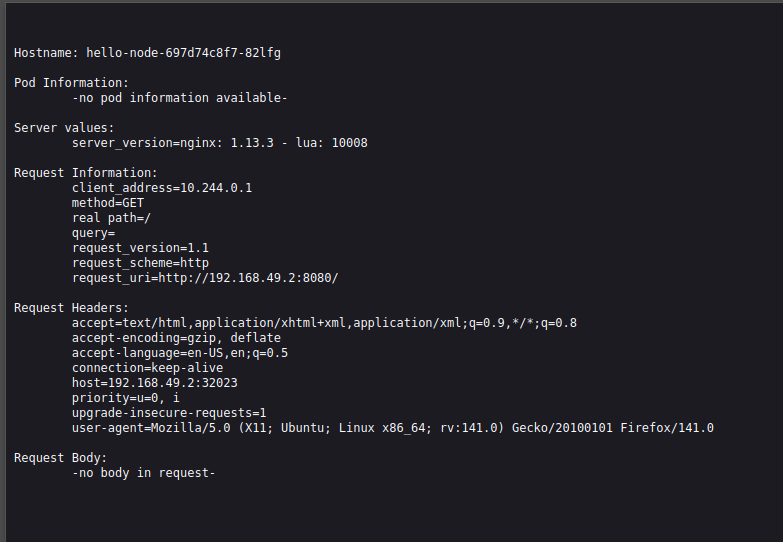
Stopping or Cleaning Up#
- When you’re done, you can stop the cluster:
minikube stop- To delete the cluster entirely:
minikube deleteConclusion#
Kubernetes might seem complex at first, but starting with a local setup helps demystify it. By running a cluster on your own machine using Minikube, you gain the confidence to move to production environments later.
Kubernetes isn’t just a tool - it’s a platform that empowers you to build resilient, scalable, and manageable applications at scale.
"Learning Kubernetes is like learning how to drive a spaceship. But once you do, you're ready to explore galaxies."
Commands List#
curl -LO "https://dl.k8s.io/release/$(curl -s https://dl.k8s.io/release/stable.txt)/bin/linux/amd64/kubectl"

chmod +x kubectl

sudo mv kubectl /usr/local/bin/
____________________________________________________________________________________________________________

kubectl version --client

curl -LO https://storage.googleapis.com/minikube/releases/latest/minikube-linux-amd64

sudo install minikube-linux-amd64 /usr/local/bin/minikube

minikube version

minikube start --driver=docker

minikube status
____________________________________________________________________________________________________________

kubectl get nodes

minikube dashboard
##or
minikube dashboard --url

kubectl create deployment hello-node --image=k8s.gcr.io/echoserver:1.4

minikube addons enable dashboard

minikube addons enable metrics-server
____________________________________________________________________________________________________________

kubectl get pods -n kubernetes-dashboard -w

kubectl expose deployment hello-node --type=LoadBalancer --port=8080

kubectl get service hello-node

minikube service hello-node